Creating your First Plan Illustration
This is a quick guide that will walk you through your first Cash Balance Plan design.
Step 1. Create Plan Specifications
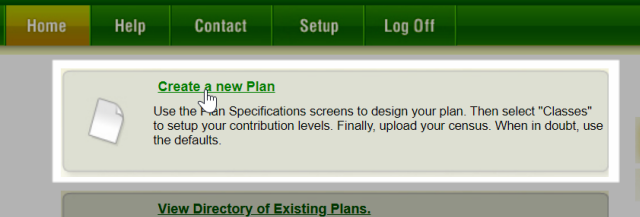
a)From the Home Page, click the "Create a new Plan."
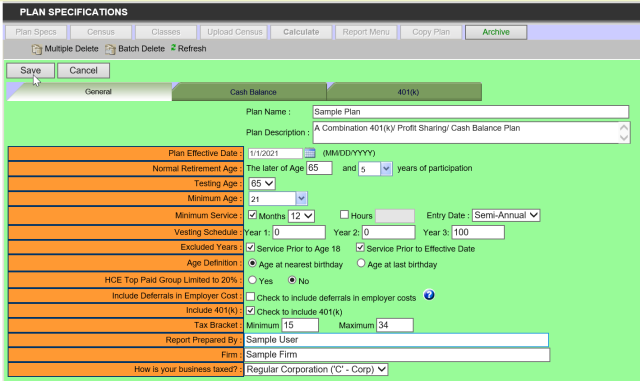
b)Opens the Plan Specifications screen. Complete the Plan Specifications
There are 3 tabs to the Plan Specification: General, Cash Balance & 401(k). For now, use all the default values. Just complete the following fields:
üPlan Name
üReport Prepared By
üand your Firm’s Name
The default values will design a combination 401(k)/ Profit Sharing/ Cash Balance Plan with a 3% Safe Harbor. Later you can go back and learn more about the different Plan Specification fields.
You may take a look at the other tabs, but try not to do that until after this session.
For now, save your Plan Specs by clicking on the  button.
c)After you save your Plan, you will be in the Plan Directory Screen. Select your plan by clicking on the radio button to the left of the Plan Name.
Step 2. Upload Census Data
Step 3. Review/Edit Classes
Step 4. Generate Report
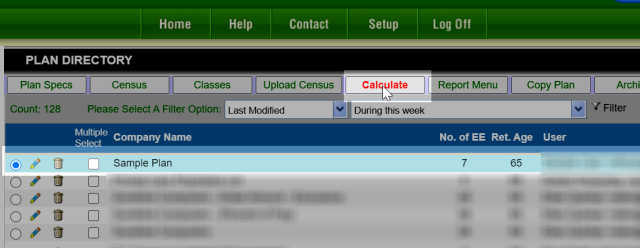
a)Select your plan by clicking on the radio button to the left of the Plan Name.
b)Click on the ![]() button to calculate to see the results of various tests.
button to calculate to see the results of various tests.
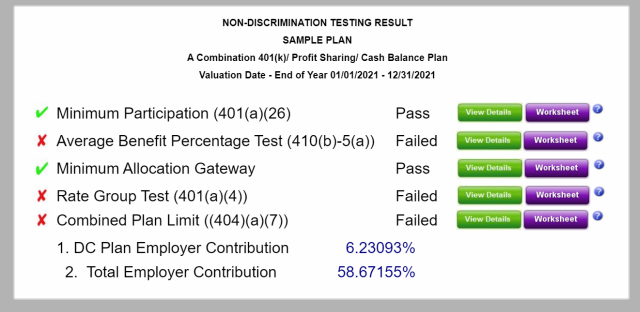
Currently, this program will only do testing based on given contribution levels. Hence, it will tell you whether it passes 401(a)(4) –Non-Discrimination testing. It will not calculate the minimum NHCE contribution required for the plan to pass.
However, it will tell you in detail what portions of the test it failed and enough detailed worksheets so you can analyze it and make it pass.
If you want to print other reports, click the ![]() button to display the Standard Reports.
button to display the Standard Reports.